
This works for the SL2100 and should also work for the SV8100 and SV9100, but your mileage may vary.
Virtual extensions in the NEC world are very useful. For basic incoming calls you can point a trunk to a ring group. But for more advanced call routing we can set up a virtual extension for added flexibility. You can configure the call to ring an initial group of phones, then add a second group, then go to a mailbox for that virtual extension.
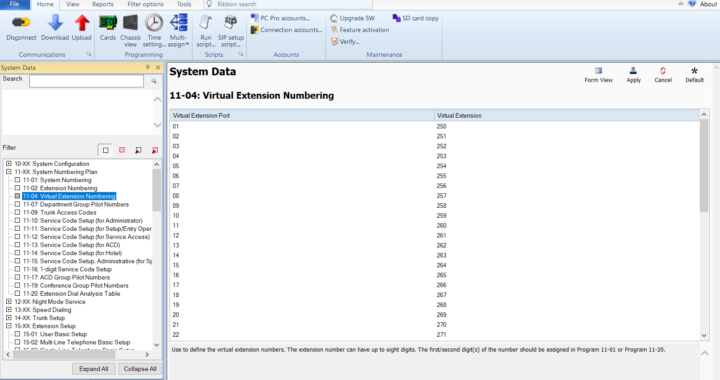
Form 11-04 – Assign the virtual extension. Default systems should have extension numbers already assigned.
Form 15-01 – From the ICM Extension drop down find your virtual extension number and assign the name you want to it. For example “Sales Incoming” or “Service Group”. Don’t forget to click apply after any changes made!
Form 15-07 – Add the key to the a button on the phones you need it to ring at. Sometimes you don’t need the key visible, so you can choose the last function key to assign the virtual, but maybe you do want the key visible to the user, so assign it to a key they can see. To assign a virtual in the SL2100 in the Function field drop down select *3 Virtual Extension Key, then a pop-up should appear where you can use the drop down to choose the virtual extension you are assigning. After you click okay be sure to hit the apply key. Do this for every extension you want to ring.
Form 15-09 – This is where you find the extensions you programmed the virtual extension key on and choose what mode they will ring on. For instance, hit the drop down for the extension and find the one you programmed the key on. After that find the function key you programmed that virtual on (it’s good to have all this in writing before starting). Then just check the box for all the modes so they virtual extension key will ring in whatever mode the system is in. Do these steps for all the extensions you added virtual extension keys to. Keep in mind even if an extension has a virtual key that will delay ring it needs to have a check mark in 15-09, or it wont delay ring at all. So if an extension in 15-09 is set to ring but doesn’t have a check mark in 15-11, it will ring right away, but if the extension has the check mark in 15-09 and 15-11, it will delay ring.
Form 15-11 – This is where you now separate the extensions that ring with that virtual first vs the extensions that will delay ring. Like the step before find the extensions that need to delay ring and then find the virtual extension function key for it and choose all the modes. Now when that virtual is called it will only ring those extension after the timer in 20-04 has run out.
Form 24-09 – Now you will need to find that virtual extension and set it to forward to voicemail. After it has rang the initial set of extensions, then added the delay ring extensions it will go to its own mailbox. On my system InMail is extension 3999, so for Call Forwarding Type I selected Call Forward when No Answer, then put 3999 in all of the remaining fields. If you instead wanted calls to this virtual to go directly to the voicemail for it, you would set the call forward type to Call Forward All. That makes the virtual a front end auto attendant instead of ringing extensions before going to voicemail.
Form 47-02 – I recommend choosing grid view for this form. This way you can find an unused mailbox number. Once you have done that set the type to Personal and the Mailbox Number to your virtual extension. Now you can set up that mailbox with a personalized recording that fits the line that was called. For example you could say “Thanks for calling ABC sales, please leave your name and number and we will call you back as soon as possible”. You could set up the virtual as a group mailbox with mail box type Routing and set up a dial action table instead of just having the unanswered call dump into a voicemail.
Form 15-07 – Now go back to the function key assignment so we can add the new mailbox key to users who will need to monitor it. Choose your extension and a function key. This time make sure it is a visible key to the user. For the key type select InMail Voice Mail access. In the next popup select the virtual extension.
Once all that is done you can point your incoming trunks or DIDs to the new virtual extension. Don’t forget to upload all your changes to your live system.